I didn’t get into sourdough during lockdown like a lot of people did. I got into it a lot later, having spent months making plain old yeasted bread in my bread machine.
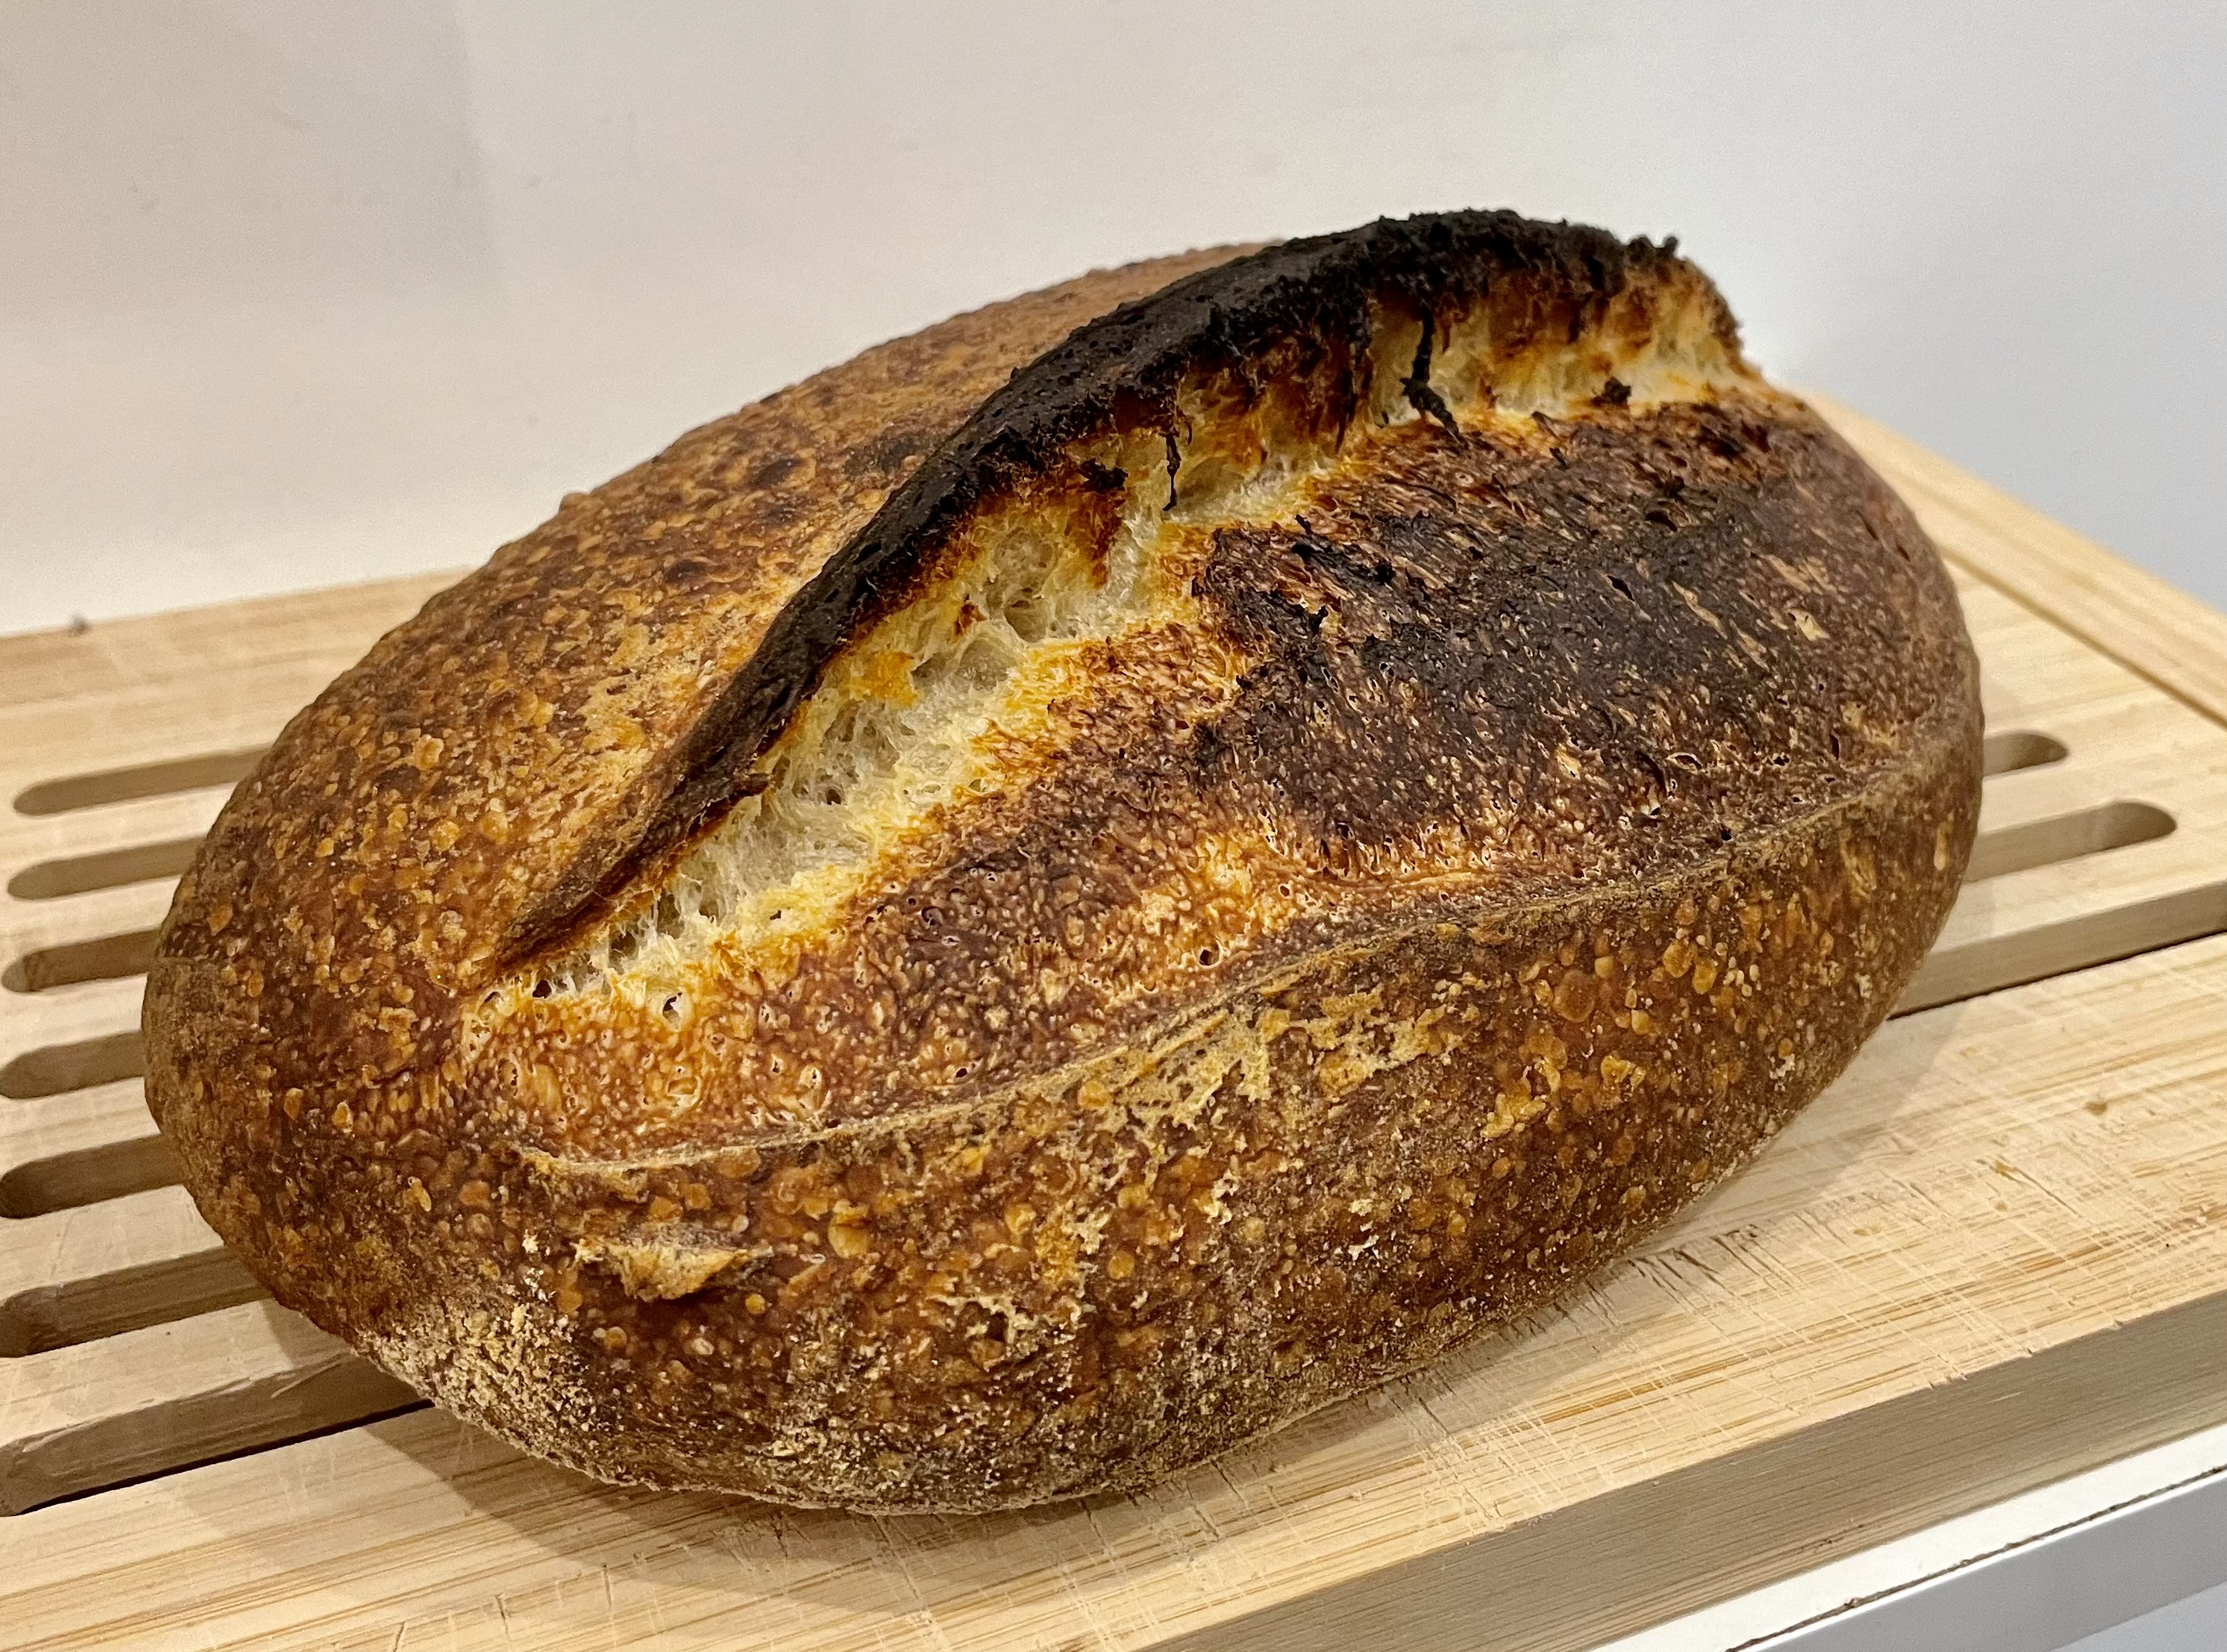
There’s always something a little bit wrong with my sourdough loaves, but finally today I produced one that I’m pretty happy with.
The starter is the same one that I’ve been using for a while, but I recently switched from feeding it with wholewheat flour to bread flour and I’m seeing significant improvements in oven spring and consistency.
This loaf had a delicious crumpety inner taste and soft texture with a hard, crispy crust and a nice ear.
Same recipe as always, although it had about 38 hours in the fridge for the cold proof.
I’m also a big believer in the ‘fridge scraps’ school of starter maintenance—I just throw the discard in the fridge. Very minimal waste, no complicated feeding schedules, and it survives just fine if I don’t make a loaf for a week or two.
Ingredients
- 500g bread flour
- 320g water
- 12g salt
- 40g starter
Method
You probably need to burn the candle at both ends a bit to make this work—I start mixing the starter at about 6 a.m., which is easier when you have a four-month-old baby at home ‘helping’ you with the schedule.
- Kick off the starter by taking 20g of your fridge scraps, mix with 20g of flour and 20g of warm water. Mix it up, and wait until it doubles (3-4 hours). Maybe go back to bed?
- Put your water in the bread machine, add your salt and 40g of your now-active starter, then put the flour on top. The remaining 20g of starter should go back to the fridge.
Note: your bread maker might want you to add the ingredients in a different order. It doesn’t really matter, we’re just using the bread maker because I’m lazy and can’t be bothered to knead. - Use the ‘leavened dough’ cycle to knead your dough. Really, any cycle which doesn’t then cook the bread will probably work, but the ‘leavened dough’ cycle will take care of a bit of strength building for you.
- Allow the dough to double in size in the bread machine’s basket. This can take a LONG time, depending on your local climate (humidity, temperature, etc.). For me, in Central Europe, it took about 10 hours to get this level of rise (probably this was actually closer to 190% rather than completely doubled).
- Turn out onto an unfloured surface (you actually want it to stick to the surface a bit). Use a floured dough scraper to build up surface tension and shape into a ball. Once you can reliably shuffle the ball around without it losing its shape, sprinkle flour over the whole thing.
- If you’re using a banneton (and you probably should), make sure it’s well floured and seasoned, and shape the bread appropriately for the banneton (e.g., for an oval banneton, form the loaf into an oval). Using the dough scraper and your hands, in a confident movement, lift your dough up and place it in your banneton with the top down (so the bottom ‘seam’ is exposed)
- Cover with a plastic bag. You must allow the loaf to cold-proof in the fridge for at least 12 hours, otherwise you will end up with no oven spring at all, and your loaf will turn into a puddle of bread when you try to cook it. I’m not sure how long you can keep it in the fridge, but I reckon it’d be fine for 2-3 days.
- To bake, use a dutch oven or a stone if you at all can. You can get a borosilicate dutch oven type thing from IKEA relatively cheaply, (called BUREN), and it’s definitely worth it, although it is huge. Preheat as hot as your oven will go (mine caps out at 250ºC, so maybe if yours goes much hotter, your mileage may vary), for at least 20 minutes to allow the cookware to absorb as much heat as possible.
- Carefully turn out your loaf onto your scorching hot cookware. Use a lame (if you have one), a razor blade, or an exceptionally sharp knife to make an incision about 1/3 of the way across the bread all the way down the length of it. Keep the angle of the blade as shallow as possible, and use a single, smooth, slicing action, rather than a hacking or sawing motion.
- Use a spray bottle to cover the loaf in water. Be careful with your hot cookware—if it’s prone to exploding when you put cold water on it, then obviously don’t do that.
- Cook covered for about 15-20 minutes (until the crust starts to set, and the gap between the two edges of the slice along the bread is no longer growing) then take the top off and reduce temperature to about 220ºC, and bake for another 15-20 minutes.
- Leave to rest for 1 hour before cutting in and enjoying.
